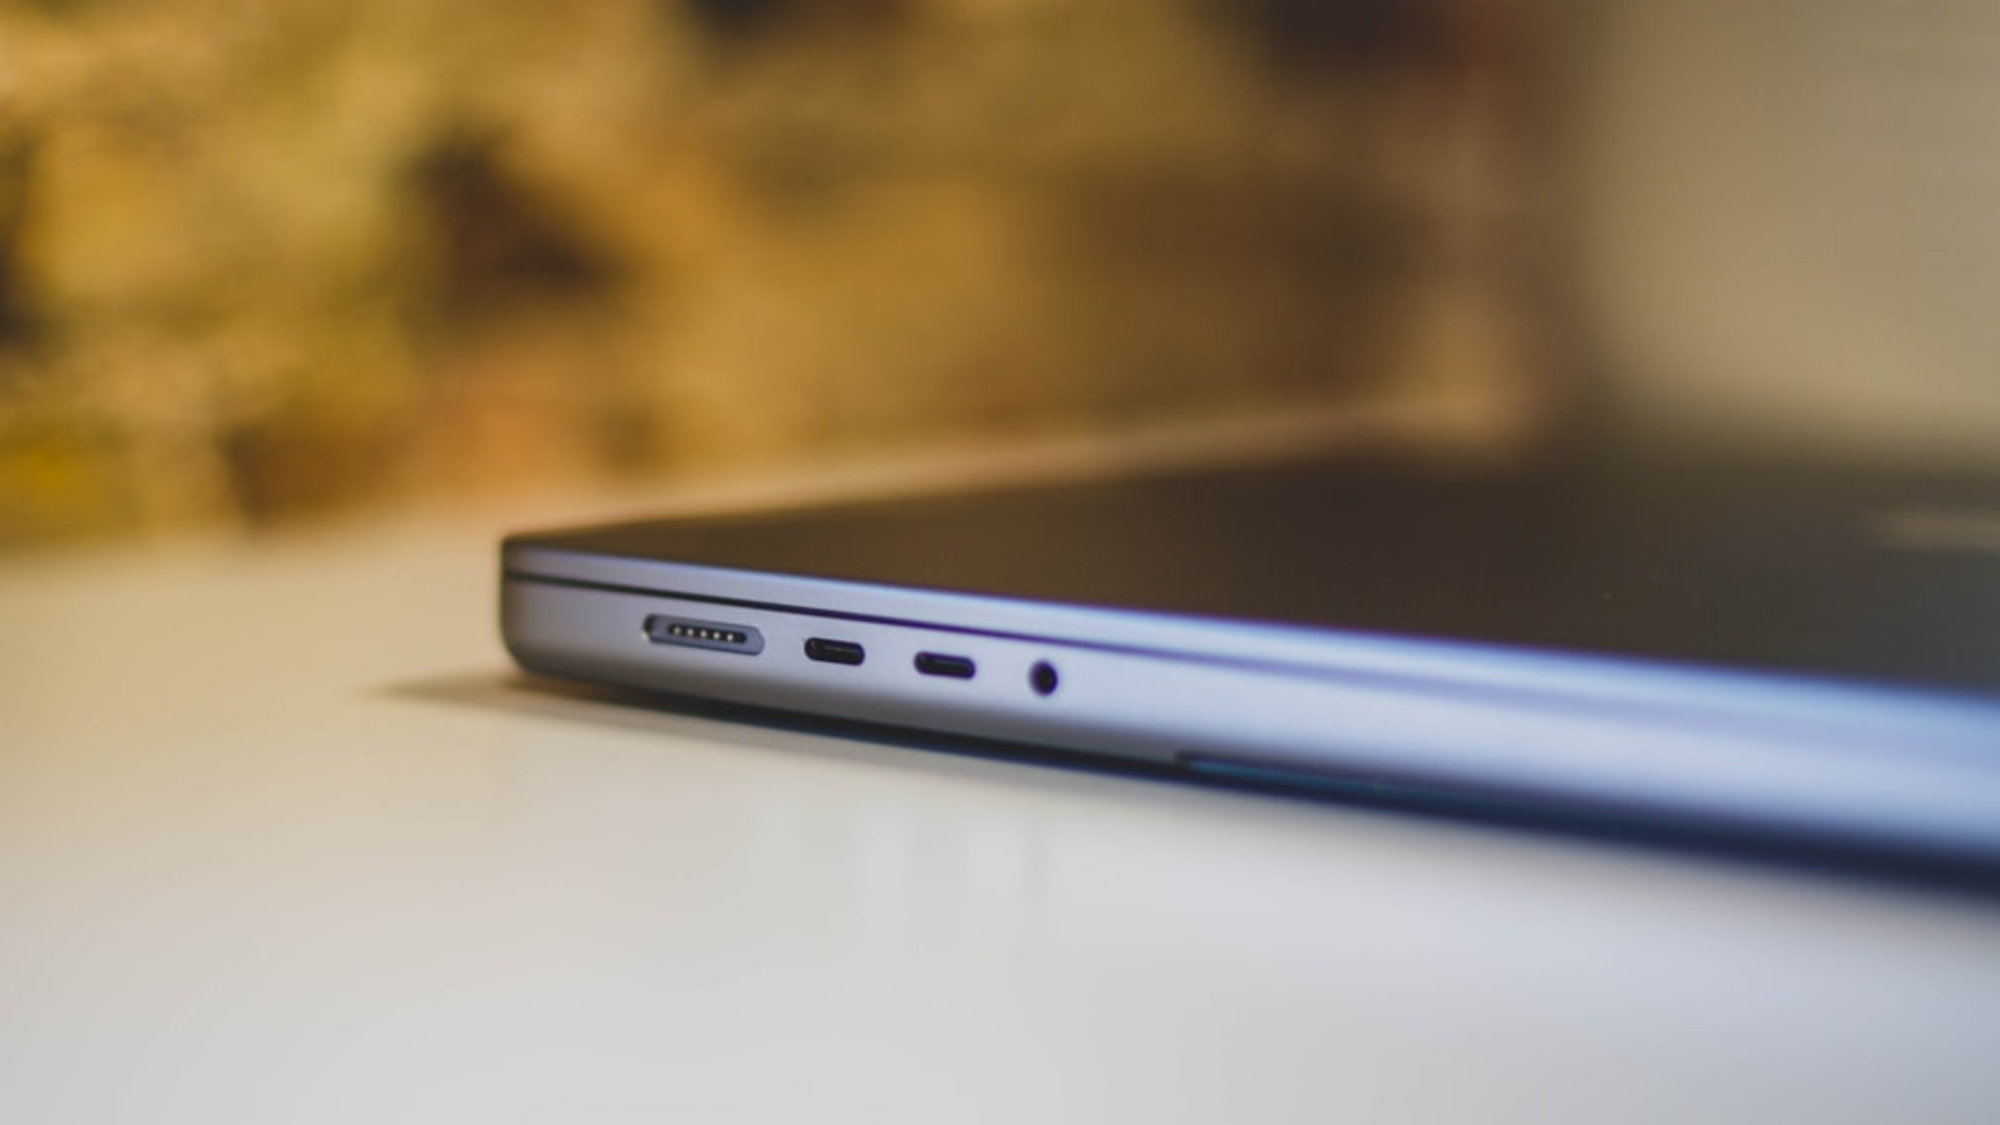
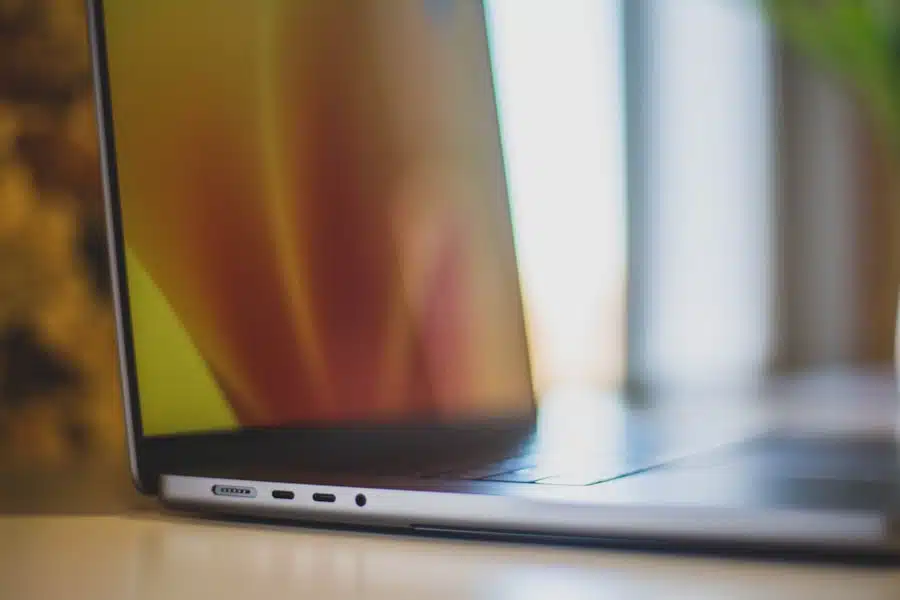
Headphone jacks are a common feature on many electronic devices, such as smartphones, laptops, and music players. They allow us to connect our headphones and enjoy our favorite music or videos without disturbing others. However, like any other component, headphone jacks can encounter problems over time. These issues can range from a loose connection to a completely broken jack, making it impossible to use headphones with the device.
Fixing headphone jack issues is important because it allows us to continue using our devices without any interruptions. Whether it’s for personal entertainment or professional purposes, having a functioning headphone jack is crucial. Additionally, repairing the jack at home can save us time and money, as we won’t have to take the device to a repair shop or buy a new one.
Common causes of headphone jack problems
There are several reasons why headphone jacks malfunction. One common cause is wear and tear over time. Constantly plugging and unplugging headphones can loosen the connection between the jack and the device, resulting in a loose or faulty connection. Another cause is physical damage, such as dropping the device or accidentally pulling on the headphone cord too hard.
Another common cause of headphone jack issues is dirt and debris that accumulates inside the jack. Dust, lint, and other particles can get trapped inside the jack, preventing a proper connection between the headphones and the device. This can result in poor audio quality or no sound at all.
Tools required for fixing headphone jack issues
To fix headphone jack issues at home, you will need a few tools. These tools include:
1. Small screwdriver: A small screwdriver is necessary for opening up the device and accessing the internal components.
2. Soldering iron: If you need to repair a broken headphone jack, a soldering iron will be required to solder the wires back together.
3. Needle or toothpick: A needle or toothpick can be used to clean out any dirt or debris that may be stuck inside the headphone jack.
4. Isopropyl alcohol: Isopropyl alcohol is a cleaning solution that can be used to clean the contacts inside the headphone jack.
Step-by-step guide to fixing a loose headphone jack
If you have a loose headphone jack, you can try fixing it at home with the following steps:
1. Turn off the device and unplug any headphones that may be connected.
2. Use a small screwdriver to open up the device and access the internal components.
3. Locate the headphone jack and check if any screws or connections are loose. Tighten them if necessary.
4. If the jack is still loose, you may need to replace it with a new one. This will require desoldering the old jack and soldering a new one in its place.
5. Once the new jack is soldered in place, reassemble the device and test the headphone jack to ensure it is working properly.
Tips for ensuring a successful repair:
– Take your time and be patient when working with small components.
– Make sure you have a clean and well-lit workspace.
– Double-check all connections and screws before reassembling the device.
– Test the headphone jack with different headphones to ensure it is working properly.
How to repair a broken headphone jack
If your headphone jack is completely broken, you can try repairing it at home with the following steps:
1. Turn off the device and unplug any headphones that may be connected.
2. Use a small screwdriver to open up the device and access the internal components.
3. Locate the broken headphone jack and carefully desolder the wires connected to it.
4. Strip the ends of the wires and solder them back onto a new headphone jack.
5. Once the new jack is soldered in place, reassemble the device and test the headphone jack to ensure it is working properly.
Tips for preventing further damage:
– Avoid pulling on the headphone cord too hard.
– Store headphones properly when not in use to prevent damage to the jack.
– Use a headphone jack adapter if the device has a tendency to break headphone jacks.
How to clean a dirty headphone jack
Cleaning a dirty headphone jack is a simple process that can help improve audio quality and prevent connection issues. Here’s how to do it:
1. Turn off the device and unplug any headphones that may be connected.
2. Take a needle or toothpick and gently insert it into the headphone jack. Move it around to dislodge any dirt or debris that may be stuck inside.
3. Once you have removed as much dirt as possible, take a cotton swab dipped in isopropyl alcohol and gently clean the contacts inside the jack.
4. Allow the jack to dry completely before plugging in any headphones.
Cleaning your headphone jack regularly can help prevent future issues and ensure optimal audio quality.
Tips for preventing future headphone jack issues
To prevent future headphone jack problems, consider following these tips:
1. Avoid excessive plugging and unplugging of headphones.
2. Store headphones properly when not in use to prevent damage to the jack.
3. Use a headphone jack adapter if the device has a tendency to break headphone jacks.
4. Clean the headphone jack regularly to remove any dirt or debris that may accumulate.
5. Be gentle when inserting and removing headphones from the jack.
Proper care and maintenance of your headphone jack can help prolong its lifespan and prevent future issues.
Troubleshooting other headphone problems
In addition to headphone jack issues, there are other common problems that can occur with headphones. These include:
1. Poor audio quality: If you are experiencing poor audio quality, check the connection between the headphones and the device. Ensure that the jack is fully inserted and that the headphones are not damaged.
2. One side of the headphones not working: If only one side of your headphones is working, check the connection between the headphones and the device. It could be a loose connection or a damaged wire.
3. No sound at all: If you are not getting any sound from your headphones, check the volume settings on your device. Make sure it is not muted or set to a very low volume.
4. Static or crackling sound: If you hear static or crackling sounds, it could be due to a loose connection or a damaged wire. Check the headphone jack and the headphone cord for any signs of damage.
When to seek professional help for headphone jack issues
While many headphone jack issues can be fixed at home, there are some situations where it is best to seek professional help. These include:
1. If you are not comfortable working with small components or using soldering equipment.
2. If you have tried repairing the headphone jack at home but are still experiencing issues.
3. If the device is still under warranty, it is best to take it to an authorized repair center to avoid voiding the warranty.
Seeking professional help can ensure that the headphone jack is repaired correctly and prevent further damage to the device.
Conclusion and final thoughts on fixing headphone jack issues at home
In conclusion, fixing headphone jack issues at home can save time and money, as well as ensure uninterrupted use of our devices. Common causes of headphone jack problems include wear and tear, physical damage, and dirt or debris accumulation. To fix these issues, you will need a few tools such as a small screwdriver, soldering iron, needle or toothpick, and isopropyl alcohol.
By following step-by-step guides and tips for repairing loose or broken headphone jacks, cleaning dirty jacks, and preventing future issues, you can maintain the functionality of your devices and enjoy high-quality audio. However, if you are not comfortable or experienced in repairing headphone jacks, it is best to seek professional help to avoid further damage. Taking care of your headphone jack and following proper maintenance practices can help prolong its lifespan and prevent future issues.