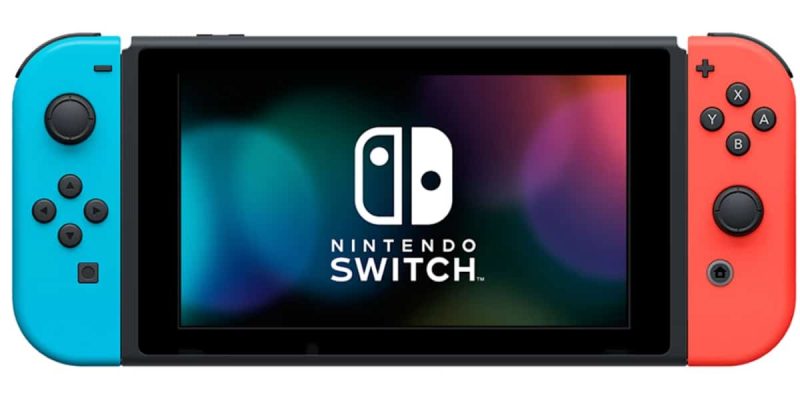
Embarking on the journey to stream your Nintendo Switch gameplay directly to Discord opens up a world of shared experiences with friends. In this comprehensive guide, we’ll walk you through the step-by-step process, ensuring you smoothly navigate each stage to broadcast your Switch adventures on Discord seamlessly.
Preparation for Streaming Nintendo Switch to Discord
As it stands, the Nintendo Switch doesn’t support the Discord app, meaning you can’t stream gameplay directly to Discord from the console. To accomplish this, you’ll have to use a computer or laptop as an intermediary. Moreover, you’ll need the following items ready:
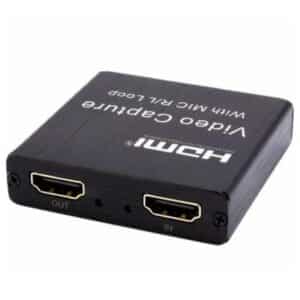
1. Video capture card
Many computers and laptops lack an HDMI port, necessitating the use of a video capture card to link your Switch and computer. However, if your computer has an HDMI port, you can directly connect the Switch to it.
Regarding the video capture card, it’s advisable to procure one that supports online streaming. Typically, these capture cards are available for purchase at electronics stores.
2. Streaming Software
Selecting suitable streaming software is essential. VLC Media Player and OBS Studio are popular choices for online streaming. Both are open-source and free, but they offer distinct features.
For beginners, VLC Media Player is recommended due to its user-friendly interface. If you’re more experienced or require additional functionalities like screen recording, OBS Studio is a better choice.
In this guide, we’ll demonstrate using VLC Media Player as an example.
3. Additional requirements
To stream your Nintendo Switch on Discord, you’ll need the Discord app installed on your computer along with HDMI cables. Once you have these items ready, you’re all set to begin streaming your Nintendo Switch on Discord. Let’s proceed and explore the tutorial below.
How to Stream Nintendo Switch on Discord - Easy Instructions
This section will guide you through the specific steps to stream your Nintendo Switch on Discord. Review and follow each step carefully.
Stage 1. Link Switch to Capture Device
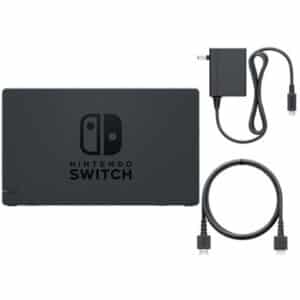
Step 1: Link the USB-C ports on the Switch to the Dock for a secure connection.
Step 2: The Dock includes an HDMI Out port; insert the other end of the HDMI cable into the “In” port on the capture card. This will establish a successful connection between the Dock’s HDMI and the capture card.
Step 3: Then, connect the USB cable of the capture card to your computer or laptop.
Step 4: Once connected, press the power button located in the top left corner to activate your Switch. This action will display the Nintendo screen on your computer.
Stage 2. Configure VLC Media Player
Step 1: Open Notepad on your computer and copy-paste the following code into it:
“C:\Program Files\VideoLAN\VLC\vlc.exe” dshow:// :dshow-vdev=”Game Capture HD60 S (Video) (#01)” :dshow-adev=”Game Capture HD60 S (Audio) (#01)” :dshow-aspect-ratio=”16:9″ :dshow-audio-samplerate=48000 :dshow-audio-channels=2 :live-caching=0 :dshow-fps=60
Step 2: Launch VLC Media Player, then navigate to “Media” > “Open Capture Device…” to access the Media window.
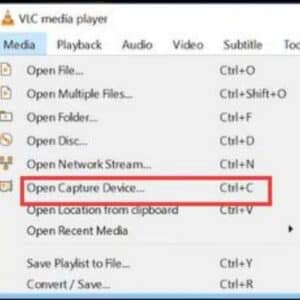
Step 3: In the Open Media window, set the Capture Mode to DirectShow. Then, match the Video & Audio Device name with the capture card’s name in the Device Selection.
Step 4: Click on the “Show More Options” button on the left and paste the copied code into the Edit Options box.
Step 5: After configuring the settings, close the streaming program.
Step 6: Locate the VLC shortcut on your desktop, right-click on it, select “Properties,
Stage 3. Prepare Discord for Streaming
Step 1: Launch Discord on your computer and join a server. Once inside, the left-side column will display a list of channels.
Step 2: Click on the Speaker icon to enter a voice channel.
Step 3: Scroll to the bottom of the channel list and select the “Screen” option.
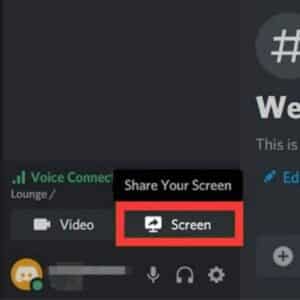
Step 4: Opt for “Application” and choose the VLC display.
Step 5: Finally, click “Go Live” to start sharing your Nintendo Switch screen. To end the stream, click the monitor with the X inside the thumbnail preview.
Now that you’ve learned how to stream your Switch on Discord, you might also want to capture Switch gameplay or record streaming videos for offline viewing. If you’re interested, continue reading to discover the solution.
Top Screen Recorder for Capturing Live Streams
Sharing content in real-time via Discord while streaming Switch is great, but recording it for later sharing can be a safer option, especially if the internet connection isn’t stable. That’s why we’ll introduce you to how to screen record Switch using EaseUS RecExperts.
EaseUS RecExperts is a lightweight screen recorder compatible with both Mac and Windows. It simplifies the process of capturing anything on your screen with just a few clicks. Recording content from your Switch using this tool is easier than streaming.
It allows flexible recording options, such as capturing the full screen or a specific area. You can record with or without audio (microphone, system sound, or both). Additionally, the tool enables webcam recording, ideal for capturing gameplays alongside your reactions.
After recording, you can preview the file within the program using the built-in player. What’s more, you can edit your recording by trimming and adding Intros or Outros without needing to download additional third-party video editors.
How to utilize this screen recording tool:
Step 1: Open EaseUS RecExperts on your computer. Prior to recording, choose between two modes: “Full Screen” to capture the entire screen or “Region” to record a specific part.

Step 2: You can select to record using your webcam, system sound, or microphone. Simply click to enable these options. Additionally, various functions like auto split and auto recording can be set on the interface.

Step 3: Next, click the red “REC” button to initiate recording. To pause, use the white double vertical bar, and to stop, click the red square icon. These controls appear on the menu bar displayed on your screen.
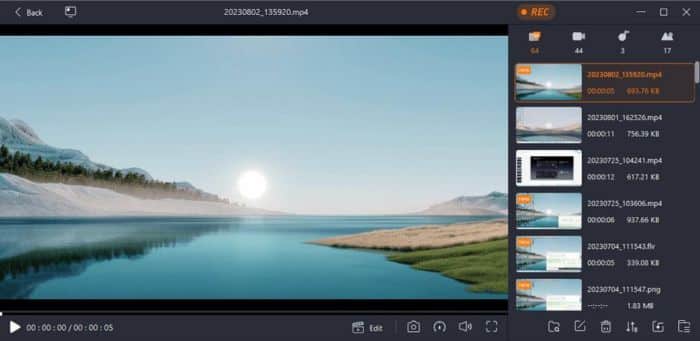
Step 4: Once the recording is complete, you’ll access the recording list. Here, you can review, split, extract audio, take screenshots, delete, and manage your recordings. To begin a new recording with previous settings, click the “REC” button at the top of the window.
Closing Thoughts
After reviewing these detailed instructions, do you still find streaming Nintendo Switch on Discord challenging? The answer is no. This guide breaks down a complex task into manageable steps, ensuring you can follow each one to completion.
Moreover, you’ve been introduced to a fantastic screen recorder – EaseUS RecExperts. This tool allows you to record your screen while streaming and save the recordings in your preferred format. In summary, this guide has successfully assisted you in learning how to stream Switch on Discord!
