Switching to an iPhone? Worried about moving your contacts? How to transfer contacts from Android to iPhone is a common concern, but the process is easier than you think.
You can transfer your contacts using a quick, automatic method or a manual option without the internet. In this guide, you’ll explore five simple and effective ways:
- Google Sync – Fastest & easiest (Takes just 2 minutes!)
- VCF file transfer – Manual method, no internet needed
- Move to iOS – Apple’s official tool for new iPhones
- Droid Transfer – One-click solution using a PC
- SIM Card Transfer – For contacts stored on your SIM
Each method has its advantages and the right one depends on your needs. Some are instant and automatic, while others work offline for more control over your data.
If you’re not sure which option to choose, don’t worry because we’ll break down each method step by step.
How to Transfer Contacts from Android to iPhone Using Google
- Best for: Automatic & wireless transfer
- Needs internet? Yes
- Time required: 2-3 minutes
If your contacts are saved to your Google account, syncing them to your iPhone takes just a few taps. Here’s how to do it:
1. On Your Android Phone
- Open Settings → Tap Accounts → Select Google.
- Make sure Contacts Sync is turned on.
- Wait a few minutes for Google to update your contact list.
2. On Your iPhone
- Open Settings → Tap Mail (or “Contacts“).
- Go to Accounts → Add Account → Select Google.
- Sign in with the same Google account and enable Contacts Sync.
Your contacts will appear on your iPhone automatically!
Tip: If still some of the contacts are missing, go to Settings → Accounts → Google → Tap ‘Sync Now’ on Android.
How to Transfer Contacts from Android to iPhone Without SIM
Best for: Manual contact transfer without syncing
Needs internet? No
Time required: 5 minutes
If you don’t want to use Google Sync, you can manually export your contacts from Android to iPhone using a VCF file. Just follow this step-by-step guide to get it done easily.
1. On Your Android Phone
- Open Contacts → Tap Menu (three dots) → Select Export Contacts.
- Save as a .vcf file (vCard).
- Send the file to your iPhone (via email, WhatsApp, or Google Drive).
2. On Your iPhone
- Open the VCF file.
- Tap “Add All Contacts” when prompted.
All your contacts will be imported to your iPhone in seconds!
Tip: This method is great if you don’t want your contacts to be synced to a cloud service.
Transfer Contacts from Android to iPhone Using Droid Transfer
- Best for: One-click transfer with no manual work
- Needs internet? Yes
- Time required: 1-2 minutes
If you want a quick and easy way to transfer contacts, apps like Droid Transfer can do the job in one click.
How to Use Droid Transfer
- Install Droid Transfer on your PC.
- Connect your Android phone and iPhone via USB.
- Open Droid Transfer → Select Contacts → Click Copy to iPhone.
Your contacts will transfer instantly!
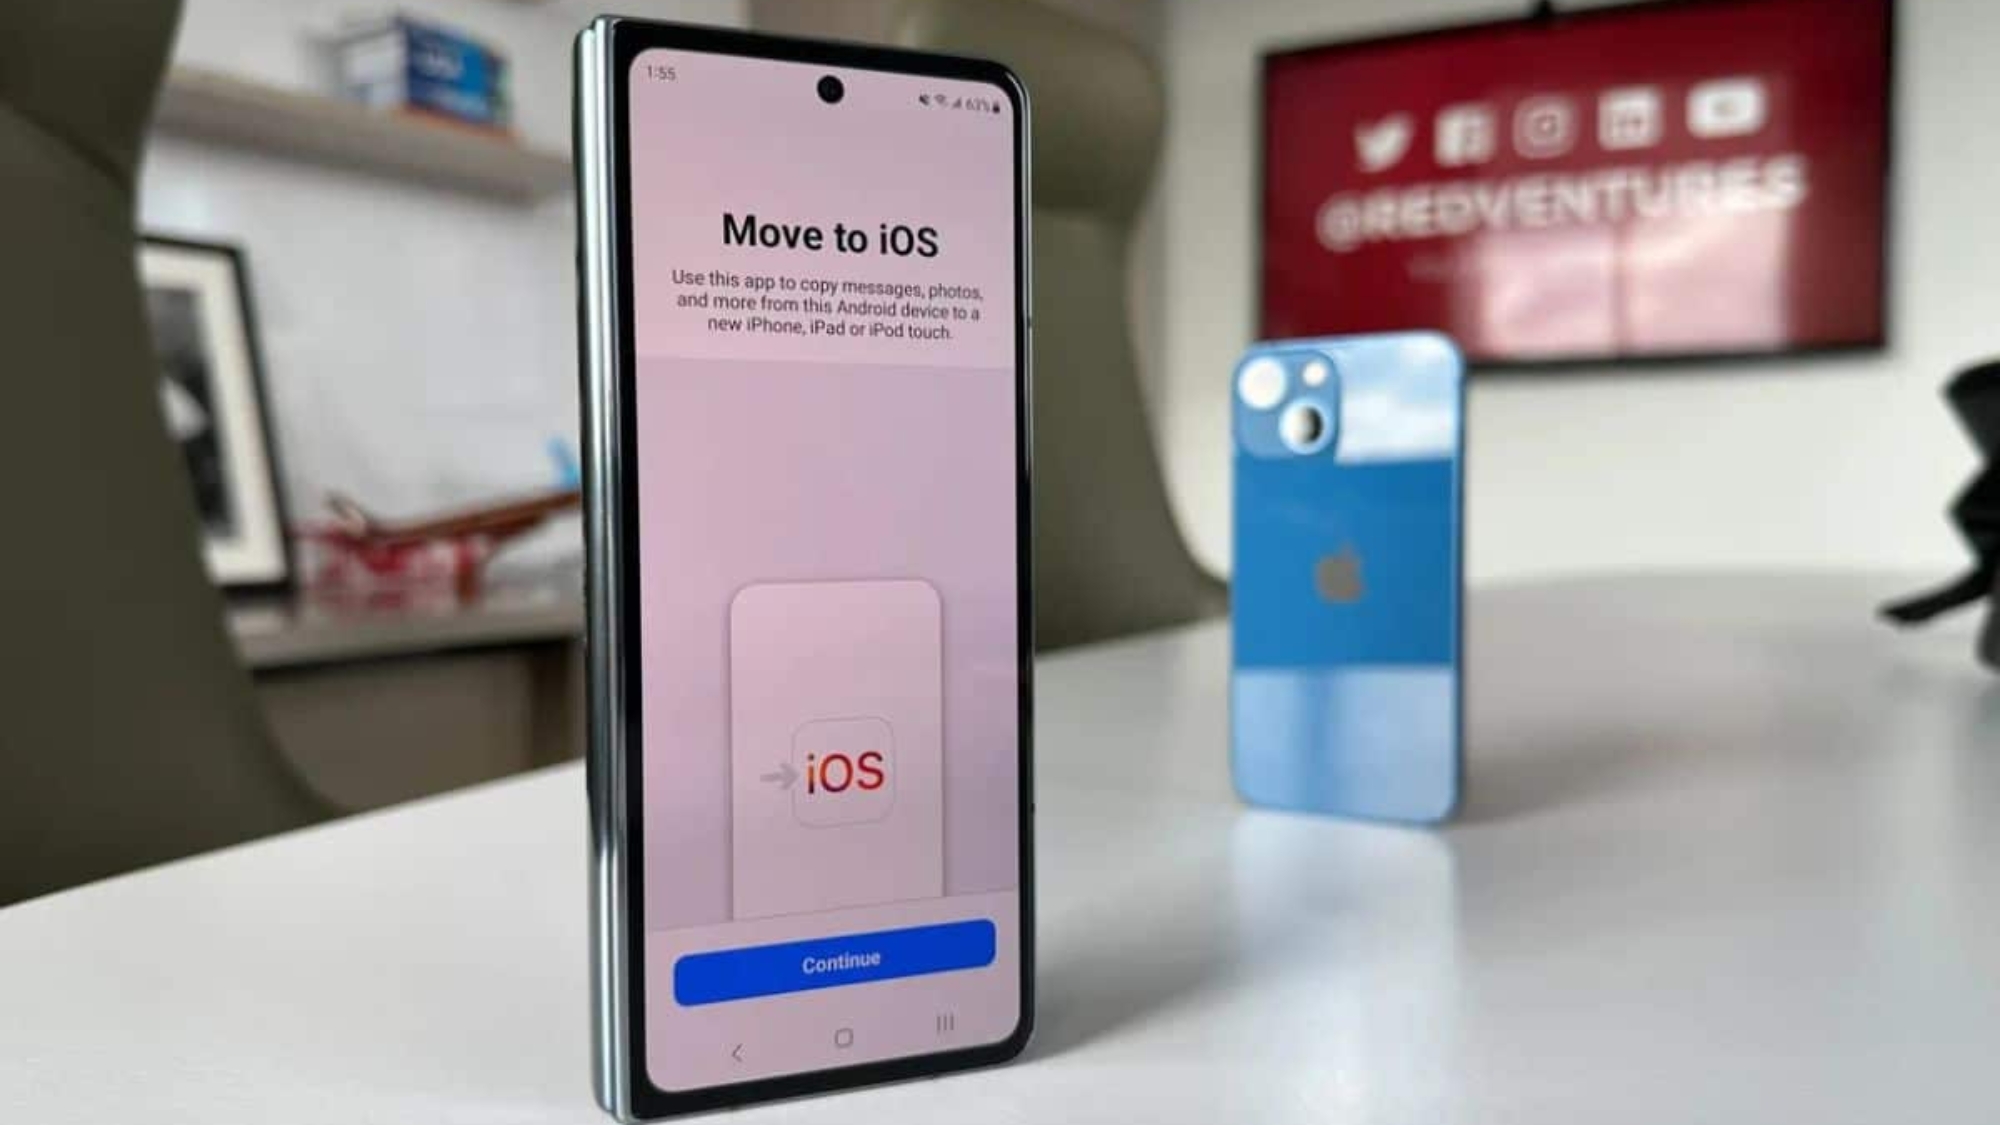
Transfer Contacts from Android to iPhone Using Move to iOS
- Best for: Transferring contacts while setting up a new iPhone
- Needs internet? Yes
- Time required: 5-10 minutes
Apple’s Move to iOS app is an official and wireless method to transfer contacts and other data from Android to iPhone. This is one of the easiest ways to migrate your contacts. Here’s how to do it step by step:
1. On Your Android Phone
- Download and install Move to iOS from the Google Play Store.
- Open the app and tap Continue → Accept the terms → Tap Next.
2. On Your iPhone
- Start setting up your new iPhone.
- When you reach the “Apps & Data” screen, tap Move Data from Android.
- You’ll see a 6-digit or 10-digit code on the screen.
3. Back on Your Android Phone
- Enter the code displayed on your iPhone.
- Select Contacts (and any other data you want to transfer).
- Tap Next and wait for the transfer to complete.
Once finished, your contacts will automatically appear on your iPhone!
Move to iOS only works during the initial iPhone setup. If your iPhone is already set up, you’ll need to reset it or use another method like Google Sync or VCF export.
Transfer Contacts from Android to iPhone Using a SIM Card
- Best for: Small contact lists without Google or apps
- Needs internet? No
- Time required: 3 minutes
If your contacts are saved on your SIM card, you can manually transfer them to your iPhone. Here’s how to do it step by step:
- On Android: Open Contacts → Tap Export → Select SIM Card.
- Remove the SIM from your Android phone and insert it into your iPhone.
- On iPhone: Go to Settings → Tap Contacts → Select Import SIM Contacts.
This method only works if your contacts are stored on the SIM (not the phone memory).
Why Didn’t My Contacts Transfer to My iPhone?
If your contacts didn’t show up after transferring, don’t worry. Try these quick fixes to get them back.
Is Google Sync Not Working?
- Open Settings on your Android phone.
- Tap Accounts → Select Google.
- Tap Sync Now to update your contacts.
Is iCloud Sync Not Working?
- Open Settings on your iPhone.
- Tap your name at the top → iCloud.
- Make sure Contacts is turned on for syncing.
Contacts Still Missing? Try This!
- Restart both your Android phone and iPhone.
- Check if your contacts are saved in Google Contacts by visiting contacts.google.com.
- If contacts are missing, try removing and re-adding your Google account on your iPhone.
[Bonus] How to Transfer Contacts from iPhone to Android
If you’re switching back to Android, here’s how to transfer contacts from iPhone to Android:
Using Google Sync:
- On iPhone, go to Settings → Mail → Accounts → Add Google Account.
- Turn on Contacts Sync, and it’ll transfer back to Android.
Export as VCF File:
- Open the Contacts app → Select contacts → Export as VCF and send it to your Android.
Final Thought
How to transfer contacts from Android to iPhone is a common concern but now you have multiple easy ways to do it. Google Sync is the fastest, Move to iOS is great for new iPhones, and VCF or SIM transfers offer manual control.
If your contacts are saved in Google, syncing them to your iPhone is the fastest and easiest option. If you prefer a manual transfer, exporting contacts via a VCF file or using a SIM card works just as well.
Your contacts are now on your iPhone so, no stress, no hassle! If you ever switch back to Android, transferring them will be just as easy.
Looking for expert help? Visit Techy Company for in-depth tech solutions. Our experts offer step-by-step guides, troubleshooting tips, and iPhone fixes to make tech more manageable for you. So, visit our repair store near you for any kind of cell phone or iPhone repair.
Frequently Asked Questions
You can move contacts from Android to iPhone using Google Sync, Move to iOS, or a VCF file.
Google Sync (Fastest method)
- On Android, go to Settings → Accounts → Google → Turn on Contacts Sync.
- On iPhone, go to Settings → Mail → Accounts → Add Account → Select Google.
- Sign in and enable Contacts Sync.
Move to iOS (Best for new iPhones)
- Install Move to iOS on Android and follow the setup steps on your iPhone.
- Select Contacts and transfer.
VCF File (Manual method, no internet required)
- On Android, export contacts as a VCF file.
Send the file to your iPhone and open it to import contacts.
You can transfer contacts using Google Sync, a VCF file, or third-party apps.
Google Sync (Recommended)
- On iPhone, go to Settings → Mail → Accounts → Add Google Account.
- Enable Contacts Sync.
- Your contacts will sync automatically when you sign in on your Android phone.
VCF File (Offline method)
- On iPhone, open Contacts → Select all contacts → Export as VCF file.
- Send it to your Android and import the file.
The fastest way is to use Google Sync, but you can also use Move to iOS, a VCF file, or a SIM card.
Google Sync – Automatically transfers all contacts.
Move to iOS – Transfers contacts during iPhone setup.
VCF File – Exports and imports contacts manually.
SIM Card – If contacts are saved on the SIM, insert it into the iPhone and import them.
You can transfer contacts from Droid to iPhone using several methods, depending on your preference for automatic syncing, manual transfer, or third-party apps:
- Google Sync for automatic syncing.
- Move to iOS for easy setup.
- VCF export/import for a manual transfer.
- Droid Transfer App for quick PC-based transfer.
- You can transfer photos using AirDrop, iCloud, USB, or Google Photos.
- AirDrop (Mac Only)
- Enable AirDrop on both iPhone and Mac.
- Select photos → Tap Share → AirDrop → Select Mac.
- iCloud (Wireless method)
- Enable iCloud Photos on iPhone: Settings → iCloud → Photos.
- Access your photos on iCloud.com from your computer.
- USB Transfer (For Windows & Mac)
- Connect iPhone to computer via USB.
- Open Photos App (Mac) or File Explorer (Windows) to transfer files.
- Google Photos (Cloud-based method)
- Upload photos to Google Photos on iPhone.
Open Google Photos on your computer to access them.
iPhones don’t have a built-in text scheduling feature, but you can use:
- Shortcuts App (Built-in method)
- Open Shortcuts App → Tap Automation → Create Personal Automation.
- Select Time of Day → Send Message → Enter message and recipient.
- Tap Done to schedule the text.
- Third-Party Apps
- Apps like Scheduled, SMS Scheduler, or Text Timer allow you to schedule messages.
- Manual Reminder (Alternative)
- Use the Reminders App to set a reminder.
- Send the message manually when prompted.
Add a Comment