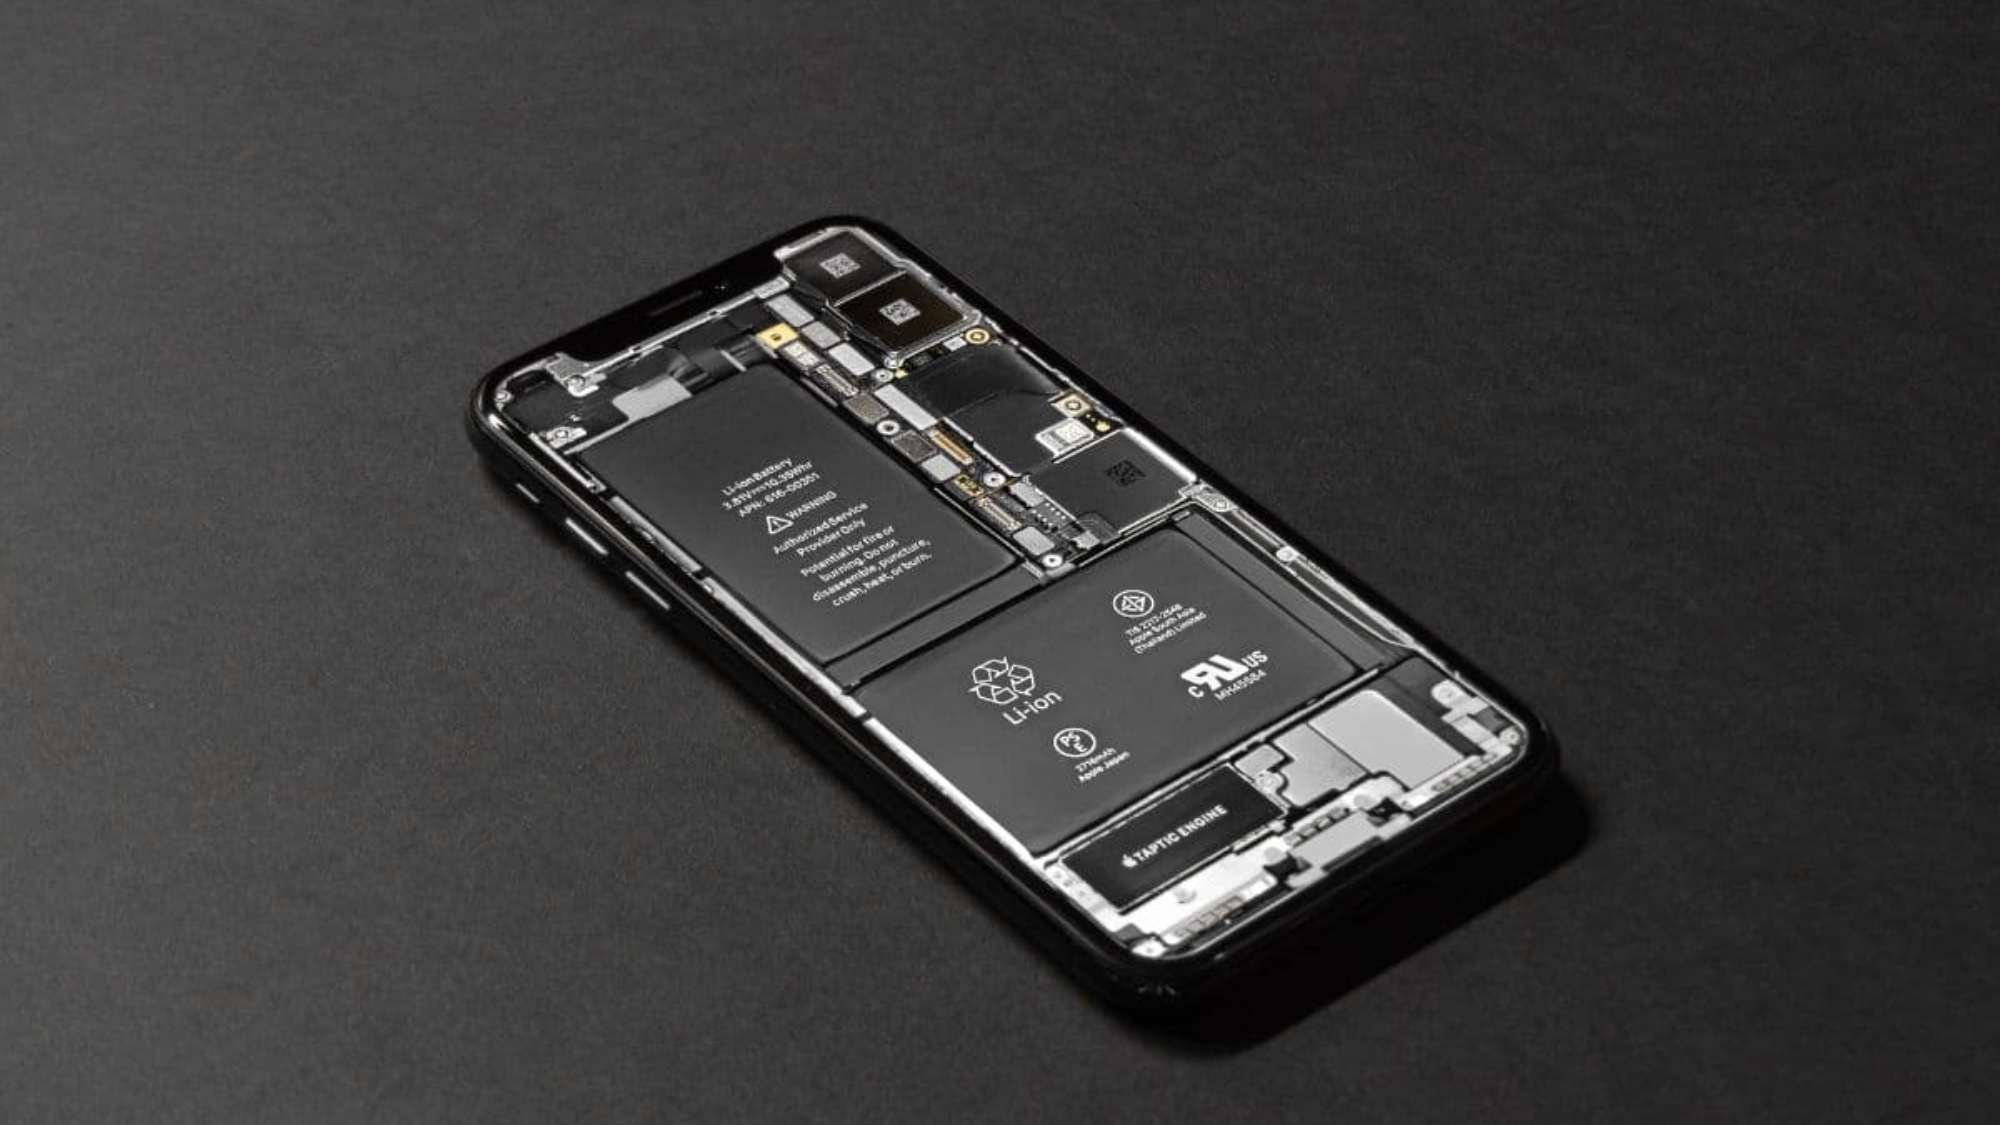
If your iPhone battery doesn’t last as long as it used to, you’re not alone. Maybe it drains faster than normal, shuts off with charge still left, or feels slower during everyday use. These are often signs that your battery is wearing out.
This iPhone battery replacement guide will show you everything step by step, how to recognize the warning signs, check your Battery Health and Maximum Capacity, understand replacement costs for different models, and decide whether to replace the battery yourself or use a professional repair service.
Signs Your iPhone Battery Needs Replacement
To know the real reason why your battery is draining so fast, you must know the common symptoms, as your iPhone often gives small warnings before the battery gets worse. If your phone feels less dependable day to day, it’s worth checking. Use the signs below:
- Battery drains quickly: Your iPhone loses charge fast even after a full recharge.
- Random shutdowns: Your phone turns off unexpectedly.
- Phone feels slow or laggy: Apps open slowly, and the device stutters during normal use.
- Overheating: Your phone may feel unusually hot during light tasks or while charging.
- Battery health below 80%: Maximum capacity shows under 80% in Battery Health settings.
- “Service” warning in settings: You see a “Service” alert under Battery Health & Charging.
How to Check Your iPhone Battery Health
You can check your iPhone battery health in less than a minute. For that,
- Open Settings
- tap Battery
- Then select Battery Health & Charging.
Here, you will see your Maximum Capacity, which shows how strong your battery still is. If it drops below 80% or shows a Service message, your battery is worn out, and it may be time for a replacement to restore full performance.
iPhone battery replacement for different models
Not every iPhone battery replacement cost same. It mainly depends on your model and the battery it uses. Pro and Pro Max phones often cost more because the design is tighter inside. They also need extra care during opening and sealing. Older models are usually cheaper. Below, you’ll find a quick model-by-model breakdown to compare easily:
- iPhone X / XR / XS / XS Max battery replacement cost: These models are older, so battery replacement is usually more affordable. Since parts are easier to find, many repair shops can keep the price lower. A DIY battery kit often costs $30–$40. But if you’d rather go with official support instead, then Apple charges around $89 for out-of-warranty battery service in the U.S.
- iPhone 11 / 11 Pro / 11 Pro Max battery replacement cost: For the iPhone 11 series, Apple’s official out-of-warranty battery replacement in the U.S. is around $89 too. Many third-party parts sellers list replacement batteries for around $35–$40, and DIY battery kits average about $40 too.
- iPhone 12 battery replacement cost: Apple’s out-of-warranty battery service for the iPhone 12 series typically costs around $89 in the U.S. If you’re on a tight budget, you can find a lot of third-party repair shops or do it yourself. The final price depends on the model and part quality.
- iPhone 13 battery replacement cost: You can replace your iPhone battery through Apple’s out-of-warranty battery service at an $89 in the U.S. If you check third-party options, you may see battery parts priced in the $20–$40 range. The full replacement cost is usually higher because it includes the work and testing.
- iPhone 14 battery replacement cost: Most people get surprised here because the iPhone 14 series sits in Apple’s higher price tier. In the U.S., Apple’s out-of-warranty battery service is about $99 for these models. On the other hand, third-party repair shops often charge less, maybe $40–$70.
- iPhone 15 battery replacement cost: The iPhone 15 series is priced in Apple’s newest range. An official out-of-warranty battery replacement usually costs around $99 in the U.S. Many third-party repair shops offer lower rates, may be $50–$80 range.
Step by Step Diy iPhone Battery Replacement Guide
If you want to try a DIY iPhone battery replacement, this step-by-step guide keeps it simple. It’s a careful job, so you need to take your time and follow the order carefully. Read each step once before you start:
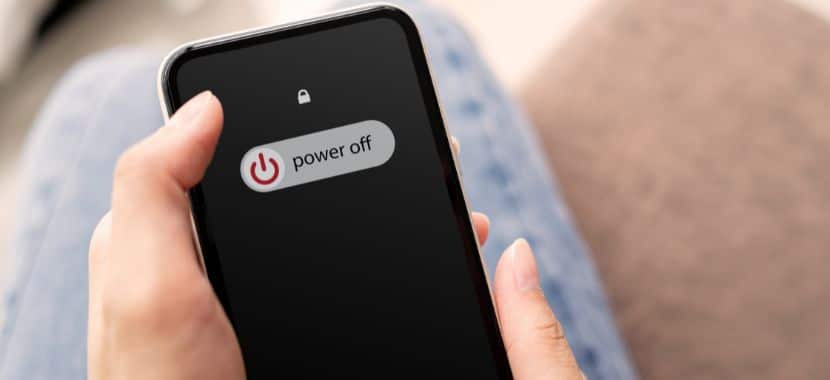
Step 1: Back up your iPhone and power it off
Before you open your iPhone, back up your data using iCloud or a computer. This keeps your photos and files safe if the repair doesn’t go as planned. After that, turn the phone off completely. For safety, it’s best to start when the battery is below 25%.
Step 2: Prep your workspace
Now set up a clean and bright spot to work. It’s best to use a flat table and keep a small tray nearby for screws. Good light will help you see tiny parts clearly. If your screen is cracked, then add clear tape over the front first. It keeps the glass in place while you open the phone.
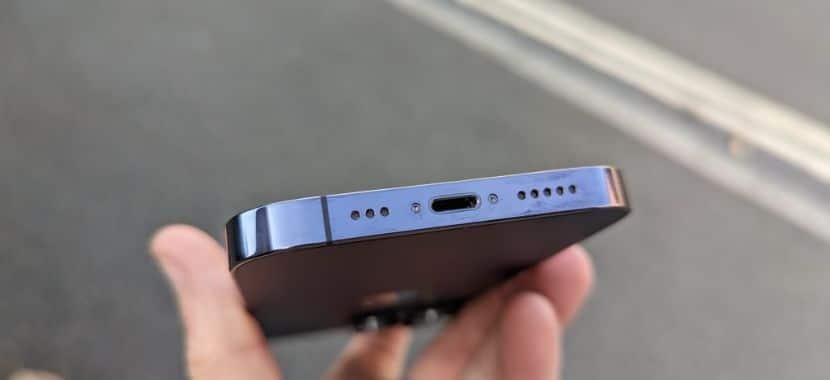
Step 3: Remove the bottom screws
Keep your iPhone turned off, then hold it so the charging port is facing you. You’ll see two pentalobe screws next to the port. Remove them slowly using the right screwdriver, then drop them into your tray. These screws are very small thats why it is easy to lose, so keeping them in one spot makes the next steps smoother.
Step 4: Warm the edges to soften the seal
Next, warm the bottom edge to loosen the glue around the screen. A hairdryer or heat pack for about a minute usually works, and you’ll notice the edge starts to feel slightly softer as you go. Keep the heat gentle so it feels warm, not hot. Once the glue loosens, the screen will lift with less effort in the next step.
Step 5: Create a small gap and insert a pick
Once the edges feel warm and loose, place a suction cup near the bottom of the screen and pull up gently. As the screen lifts, you’ll see a small gap forming between the frame and the glass. Slide a thin plastic pick into that gap and move slowly. Don’t push it in too deep otherwise you could damage the cables inside.
Step 6: Slice the adhesive around the frame
With the pick in place, slide it along the bottom and left edges to cut the rest of the glue. Go slow and don’t rush this part. When you get near the side with the buttons at that time, you need to be extra careful because the screens are there. Once the edges feel free, open the screen like a book and hold it steady so nothing gets pulled.
Step 7: Disconnect the battery connector first
One thing to remember: before you touch anything else inside, disconnect the battery to cut the power. To do that, remove the small metal bracket covering the battery connector. Then lift the connector straight up gently with a plastic tool or your fingernail. Once it’s unplugged, your phone is safer to work on. This step will help you to prevent short circuits.
Step 8: Disconnect the display cables (optional, but easier)
You can keep the screen propped open, but many people find it easier to unplug the display cables and set the screen aside. This gives you more space and reduces the chance of tearing a cable.
Step 9: Remove the old battery
At this point, you can keep the screen open, but it may get in your way. If you want more space, remove the small cover over the screen connectors and unplug the cables gently. Then place the screen aside in a safe spot. This gives you room to work and helps to you avoid pulling a cable by mistake.
Step 10: Install the new battery
Now it’s time to put the new battery in. First, remove any old glue so the battery can sit flat. Then, place new sticky strips in the same spots as the old ones. Keep the pull tabs facing the bottom.
Next, place the battery in position and press it down gently. After that, connect the battery cable and make sure it sits flat. Before you move on, check around the edges and make sure no cables are stuck under the battery.
Step 11: Reassemble and test
Now put your iPhone back together. First, reconnect the screen cables and press them in gently until they sit flat. Then place the metal covers back on and tighten the screws.
After that, close the screen slowly and press around the edges so it sits evenly. Put the two bottom screws back in. Turn your iPhone on and test touch, charging, speakers, and Face ID. If something feels off, open it again and recheck the cable connections.
If your iPhone still doesn’t charge after the battery replacement, thats mean the cable or charging port may be the real issue. In that case, the post on charging port repair cost can help you see what comes next.
Step 12: First charge cycle
This is the final step, and now this is the time to give your new battery a clean start. For that, charge your iPhone to 100% and keep it plugged in for a little longer. Then use it like normal and let the battery drop down to around 10–20%. After that, charge it back up to 100% again. This helps your iPhone to show a more accurate battery percentage.
iPhone Battery Replacement at the Apple Store
You can choose the Apple store for your iPhone Battery Replacement. In fact its a smart choice to go to the Apple Store for battery replacement. Here you will get want genuine parts and a clean repair record. Once you book an Apple Store appointment, they start with a quick battery health check to confirm the problem. If your maximum capacity is low or you see the Service warning, they replace the battery and then test charging and performance before you leave.
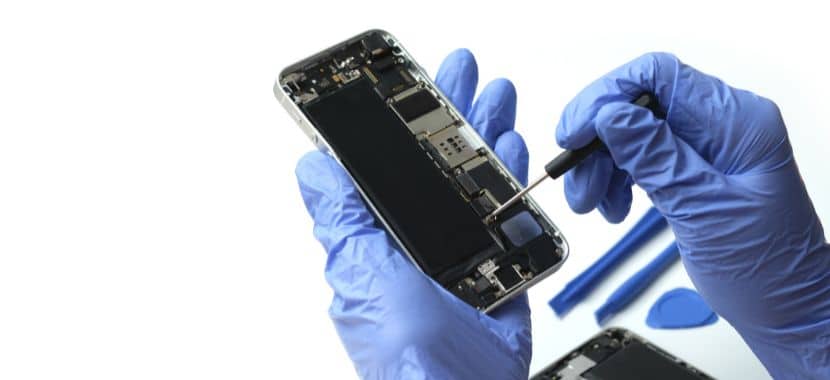
Professional iPhone battery replacement by Techy Company
If you want the job done without the DIY risk and without spending much in the official Apple store, then you can choose theird party shop like Techy Company for your battery replacement. Our process of work starts with a quick battery health check, replacing the battery, and testing the charging before you leave. And you will be happy to know that, besides iPhone repair, we also offer professional cell phone repair services for any mobile. You can get both repairs done in one visit and save time. To keep things easy for you, here’s what you get when you choose Techy Company:
- High-Quality Replacement Screens: Clear display and smooth touch.
- Clear Pricing Before Any Repair: You see the price before we start.
- Lifetime Warranty on Labor: Our work stays covered.
- Skilled Technicians with Hands-On Repair Experience: Our highly skilled technicians work on iPhones every day.
Tips to Make Your New iPhone Battery Last Longer
A few small habits can help your battery last longer. Most of it comes down to heat, charging, and a couple of settings that drain power in the background. These tips below are easy to follow:
- Keep it cool while charging.
- Use Optimized Battery Charging.
- Lower brightness or use Auto-Brightness.
- Turn off Background App Refresh.
- Always use Apple or certified chargers.
Final Thoughts
By now, you know the common signs of a weak battery, how to check Battery Health, and the DIY process of battery change from start to finish. That means you don’t have to guess anymore. You can look at how your iPhone acts, match it with the signs, and decide if it’s time for a new battery.
So, if you don’t want to do it yourself, you can let a repair shop handle it. In that case, you can visit any Techy store near you for a quick & affordable smartphone repair.
Add a Comment