
In our cell phone repair store, we offer iPhone 14 Pro screen replacements. As a device repair professional, we replaced many iPhone 14 Pro screens at our store. We have changed the screen of the iPhone 14 Pro A2890 model. So our complete guide is on iPhone 14 Pro screen replacement based on this model for Apple iPhone users. In this guide, we have focused on the iPhone 14 Pro screen components, tools for iPhone 14 Pro screen replacement, and preparing for iPhone 14 Pro screen replacement. You also find step-by-step instructions for iPhone 14 Pro screen replacement, troubleshooting for iPhone 14 Pro screen replacement, safety precautions for iPhone 14 Pro screen replacement, and a lot more.
If your iPhone 14 Pro screen is not responding to touch, is cracked, or is not showing an image when powered on, don’t worry. This step-by-step guide will help you replace the iPhone 14 Pro screen at home and order a new screen.
Let’s get started by reading the iPhone 14 Pro screen replacement guide.
iPhone 14 Pro Screen Components
iPhone 14 Pro screen components are the OLED display, touch sensor, backlight, and protective glass cover. Every component covers a unique feature, like the OLED display, which generates high-quality images with deep blacks and vibrant colors. Touch sensors help users interact with the screen through touch gestures. The backlight illuminates the screen from behind to improve visibility, and finally, the protective glass cover protects the screen from scratches and cracks.
Although a protective glass cover protects the screen from scratches and cracks, there are causes of iPhone 14 Pro screen damage. For example, dropping the device, exposing it to extreme temperatures, and applying excessive pressure to the screen.
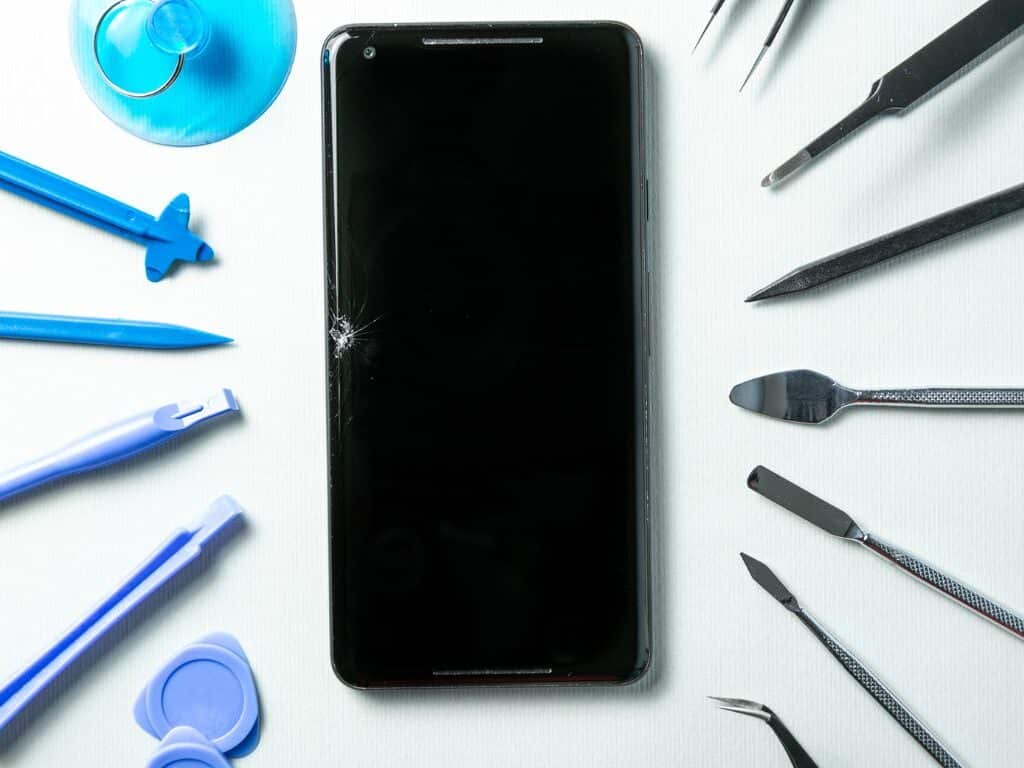
Tools for iPhone 14 Pro Screen Replacement
If you want to learn about DIY iPhone 14 Pro screen replacement, you should know the essential tools for replacing the iPhone 14 Pro screen. Let’s take a look at the materials for DIY iPhone 14 Pro screen repair below!
- Replacement Screen: You need a replacement screen specifically designed for the iPhone 14 Pro.
- Screwdriver Set: You can use a screwdriver set to remove the screws from iPhone’s casing and screen.
- Suction Cup: You also require a suction cup to pick up the old screen of the device.
- Plastic Pry Tools: Plastic pry tools help you open the iPhone’s casing without causing damage.
- Tweezers: You should use tweezers to handle small components and connectors during the replacement process.
- Adhesive Strips: Adhesive strips help you secure the new screen in place.
- Cleaning Cloth: A microfiber cleaning cloth helps you wipe away fingerprints, dust, and other debris from the screen and internal components.
Preparing for iPhone 14 Pro Screen Replacement
Back up your iPhone 14 Pro data before replacing the iPhone 14 Pro screen. You should turn off your iPhone 14 Pro before repair. Now we are sharing how you will prepare for the iPhone 14 Pro screen replacement below!
- Connect your iPhone to a Wi-Fi network.
- Go to Settings > [Your Name] > iCloud > iCloud Backup.
- Turn on iCloud Backup if it is not already on.
- Tap Back Up Now to start the backup process.
Pro Tips
You should discharge the battery below 25% before repairing your device. If you do this, it will reduce the risk of fire if the battery is accidentally damaged during the repair.
In the below section, we have focused on the DIY iPhone 14 Pro screen replacement guide for you.
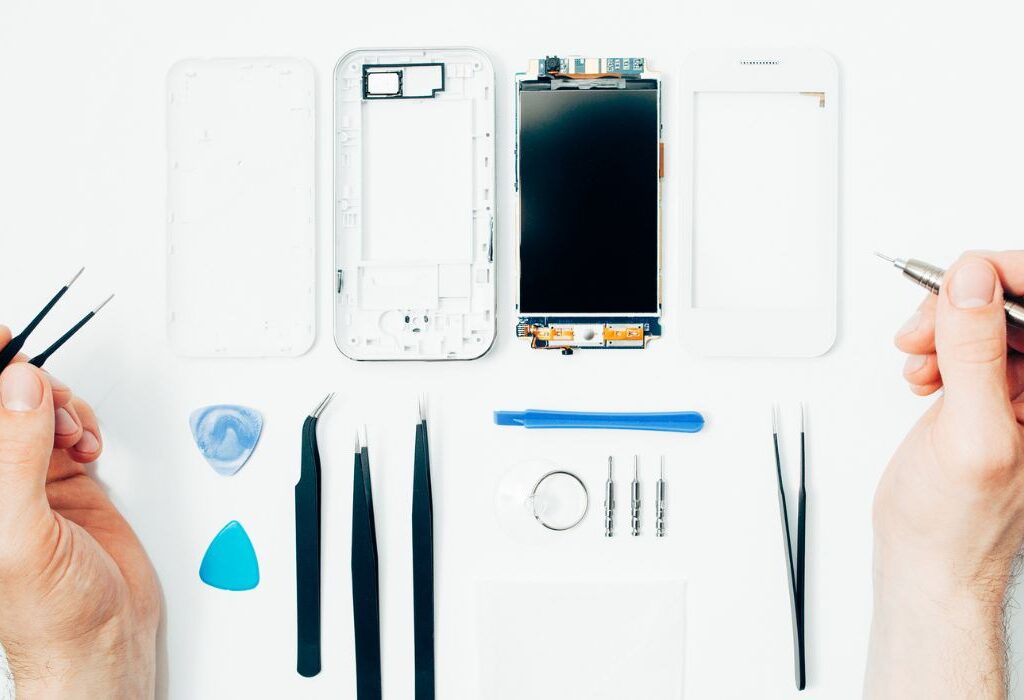
Step-by-step iPhone 14 Pro screen replacement
If you want to replace the iPhone 14 Pro screen at home, you should follow the guidelines for a better result, and in our device repair store, we have focused on this guideline.
- Firstly, gather all the necessary tools and materials mentioned earlier.
- Then, power off your iPhone 14 Pro.
- Grab a screwdriver to remove the two screws located at the bottom of the device and on either side of the charging port.
- Once the screen has a tight seal, place a suction cup next to the home button.
- Then, pull up the suction cup to create a small gap between the screen and the device’s frame.
- Put a plastic pry tool into the gap to separate the adhesive holding it in place. Take your time and be gentle to avoid damaging any cables or components.
- Once you have loosened the adhesive around the edges, lift the screen slightly using the suction cup.
- Hold on to a plastic pry tool to disconnect the display cables located near the top of the device. Just be careful not to put too much pressure on those cables.
- Now, you can entirely remove the old screen from the device.
- All right, it’s time to bring in the new replacement screen. Carefully align it with the device’s frame, making sure everything lines up nicely.
- Press down on the edges of the screen to secure it in place.
- Take your time and carefully insert them into their respective connectors on the device. We don’t want any loose connections here.
- Press down on the screen to ensure it is securely attached and aligned with the device’s frame.
- Use a pantyhose screwdriver to reinsert and tighten the two screws at the bottom of the device.
- Power on your iPhone 14 Pro by pressing and holding the power button until the Apple logo appears
After completing the iPhone 14 Pro screen replacement, you can face some common problems with the iPhone 14 Pro. In the next section, we will discuss how to fix issues after DIY screen repair.
Troubleshooting iPhone 14 Pro screen replacement
You can indeed face difficulties with the iPhone 14 Pro screen replacement after repair. The common issues are a slow internet connection, software compatibility issues, devices not turning on, frequent system crashes, data loss or corruption, and more. We have provided details in our other guide on fixing issues during DIY screen repair. You can find the solution if you visit there.
It would help if you were careful to complete the repair process correctly. So you need to follow some safety tips. You will find it in the below section.
Safety Precautions for iPhone 14 Pro Screen Replacement
When you repair an iPhone 14 Pro, you should follow safety tips for DIY iPhone 14 Pro screen repair to avoid accidents during screen replacement. Let’s take a look at the list below:
- You should power off your iPhone 14 Pro before repairing it.
- Using proper tools for iPhone 14 Pro replacement is mandatory if you attempt a DIY repair at home.
- You can find a comfortable zone for screen repair and replacement so that you can do the task carefully.
- You must disconnect the battery from the device.
- Handle small parts with care because any of the parts, especially the screws of the device, are essential.
- It would help if you avoided excessive force when you pulled down the old screen or set up a new screen with your iPhone.
- If you wear protective gear, especially gloves, at repair time, it will help to reduce fingerprints on the screen.
- Wait to do the screen repair task as soon as possible, and take your time to replace the iPhone screen properly.
You need to know the post-replacement testing of iPhone 14 Pro screen replacement, and it will be helpful if you consider a professional iPhone 14 Pro screen replacement service. So read carefully in the below section.
Testing iPhone 14 Pro Screen after Replacement
If you want to check your iPhone 14 Pro after screen replacement, you should remember some tips that we have described to ensure screen replacement is successful.
- Firstly, you will check the visual inspection of the new screen to identify any physical defects or damage.
- You must power on the device to check that it is in working order, ideally.
- Then, you can check the touch sensitivity and color accuracy of the display
- You always remember to verify the resolution, clarity, brightness, and contrast of your iPhone 14 Pro.
- Finally, you always remember to check the screen resolution.
We have tried our best to give some tips on post-placement testing of the iPhone 14 Pro screen replacement. Now, you will give your iPhone 14 Pro for screen replacement to a professional device repair store.
How can you get an iPhone 14 pro screen repair and replacement?
You can get iPhone 14 pro screen repair and replacement services from Apple iPhone Support or authorized third-party repair services that offer screen repair and replacement services for iPhone 14 Pro. Techy iPhone Repair Store is a well-known, authorized Apple device repair shop near you in the USA. You can visit their website.
As I am an iPhone repair expert there, I know the Techy iPhone glass replacement service list. Let’s see the list below!
- iPhone 14 pro back screen replacement service
- iPhone 14 pro front screen replacement service
- iPhone 14 pro LCD screen replacement service
- iPhone battery replacement service
If you want to know the iPhone 14 Pro screen replacement price, Techy customer support can help you.
FAQs about iPhone 14 pro back screen replacement
In our repair service store, we select repair costs depending on the extent of the damage to your iPhone 14 Pro screen.
Yes, an iPhone 14 Pro screen can be replaced.
As far as we know, Apple does not cover accidental damage, such as a cracked screen.
In our repair store, we fix the repair time, depending on the availability of replacement parts and the complexity of the repair.
Warpping Up
In conclusion, we have tried our best to create an iPhone 14 Pro screen replacement guide. We also focused on iPhone 14 Pro screen replacement tools, processes, safety tips, and user guidelines. If you have any feedback or experience with DIY iPhone 14 Pro screen repair or professional screen replacement, we encourage you to share your thoughts and experiences. Your feedback can help others to make decisions and ensure a successful screen replacement.
Add a Comment